Growing Advice
How To Germination Test Your Veg Seeds At Home
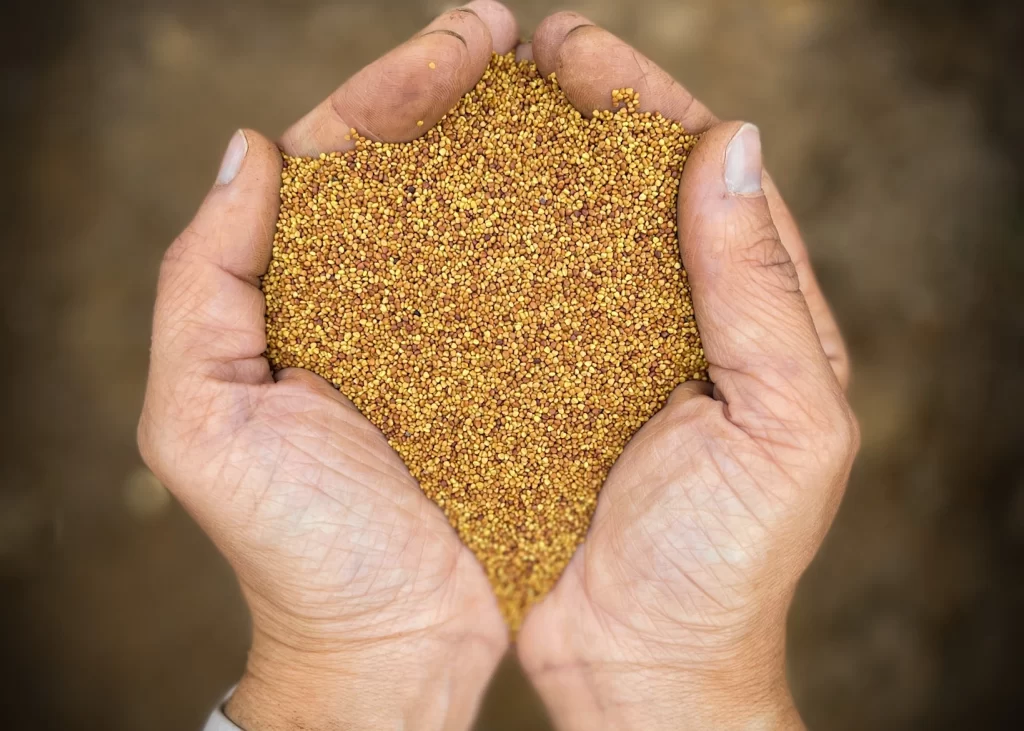
One of the most crucial steps in gardening is ensuring the viability of your seeds. A germination test is a simple yet effective way to determine the viability and potential success of your vegetable seeds before planting them in your garden. By conducting this test at home, you can save time, effort, and disappointment by identifying seeds that may not sprout. In this guide, we’ll walk you through the process of conducting a germination test for your vegetable seeds in the comfort of your own home.
Jump to a topic:
Equipment Needed
- Vegetable seeds
- Paper towels or coffee filters
- Plastic zipper bags or seed trays
- Water
- Permanent marker
- Warm, dark location
Step 1: Selecting the seed
Choose the vegetable seeds you wish to test and ensure you have plenty of time before you want to actually sow them, just in case you need to replace seed that’s not germinating well.

Step 2: Preparing the test environment
- Take a paper towel or coffee filter and moisten it with water until it’s damp but not soaking wet.
- Place the moistened paper towel or coffee filter on a flat surface.
- Arrange the seeds evenly spaced on one half of the paper towel or coffee filter. To make the maths easier in calculating the germination rate, choose 10 seeds if you have enough.
- Fold the other half of the paper towel or coffee filter over the seeds, covering them completely.
Step 3: Labelling and packing
- Carefully transfer the folded paper towel with seeds onto a plastic zipper bag or seed tray.
- Using a permanent marker, label the bag or tray with the name of the seed variety and the date of testing.

Step 4: Provide the right conditions for germination
- Place the labelled bags or trays in a warm, dark location such as a cupboard or drawer.
- Ensure that the testing environment maintains a consistent temperature of around 21-24°C to encourage germination.
Step 5: Monitoring
- Check the seeds daily to monitor their progress.
- Keep the paper towel or coffee filter moist by adding water if necessary, but avoid overwatering to prevent mould growth.
- Record the number of seeds that germinate each day.
Step 6: Calculate the germination rate
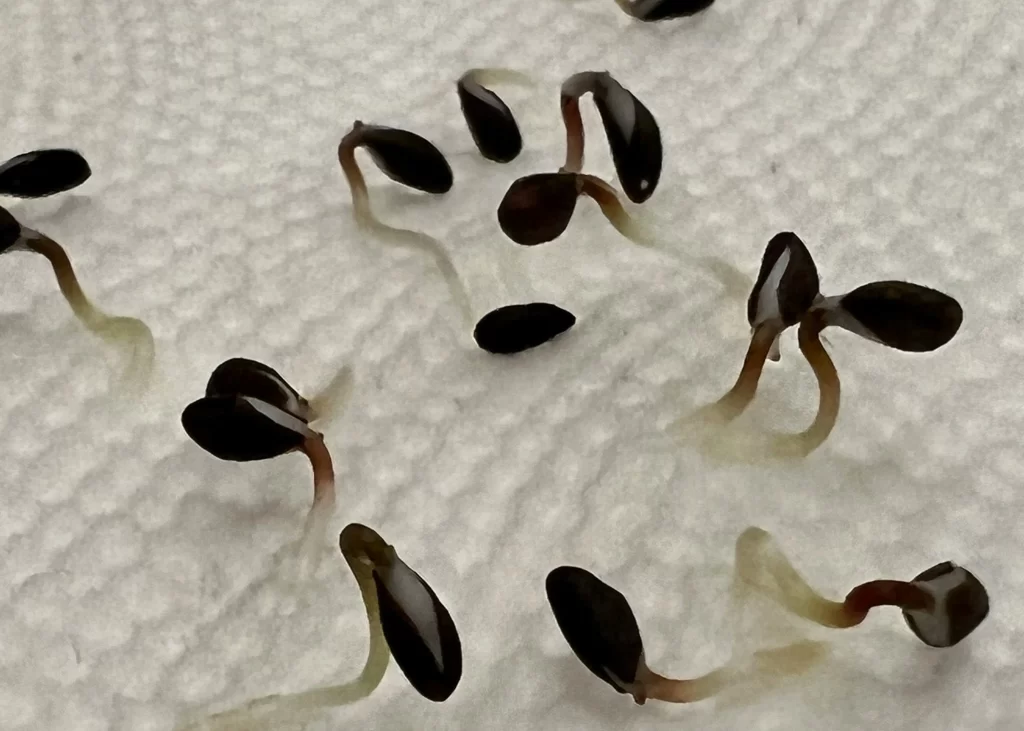
- After the recommended germination period for the specific vegetable seeds has passed (this can vary depending on the variety), count the number of seeds that have germinated.
- Calculate the germination rate by dividing the number of germinated seeds by the total number of seeds tested and multiplying by 100 to get a percentage. If you tested 10 seeds and 1 germinates, that’s a 10% germination rate for example.
Step 7: Interpreting results
- A high germination rate (usually 70% or higher) indicates that the seeds are viable and likely to produce healthy plants.
- A low germination rate may suggest that the seeds are old, damaged, or improperly stored, and planting them may result in poor or uneven germination.
Performing a germination test for your vegetable seeds at home is a simple yet essential step in ensuring a successful gardening season. By following these easy steps, you can determine the viability of your seeds and make informed decisions about your garden planning. Remember that proper seed storage and handling are key factors in maintaining seed viability, so always store your seeds in a cool, dry place for the best results.
We germination test all of our seeds here at She Grows Veg to ensure that our customers are getting the best. Happy gardening!


